


The Story of Designing “KENTOR,” a Jig for Making Golden Can Badges During Golden Week
Hello there.
In a previous article, I mentioned buying a can badge machine and producing badges using my own artwork. Since then, customers have purchased them, and they’ve been well received—things are going very well!
This article is about surviving the Reiwa era through desktop manufacturing, aiming for even greater heights.
As the title suggests, I wanted to incorporate gold into my can badges using special printing techniques.
Initially, my plan was to print the design with an inkjet printer, then print the gold areas with a monochrome laser printer, and finally use a hot stamping paper to transfer the gold foil with an iron. However, the 14,000-yen laser printer I bought last year failed to align the print correctly, whether using the paper tray or manual feed, so I had to abandon that approach.
Then, I came up with the idea of creating a gold-specific printing plate to ensure proper alignment—essentially a Reiwa-era update on traditional Ukiyo-e registration. In traditional multi-color Ukiyo-e woodblock printing, “見当 (kentō)” refers to the carved registration marks that ensure precise alignment of different color layers. By combining this concept with the “R” from Reiwa, I named the system “KENTOR.”

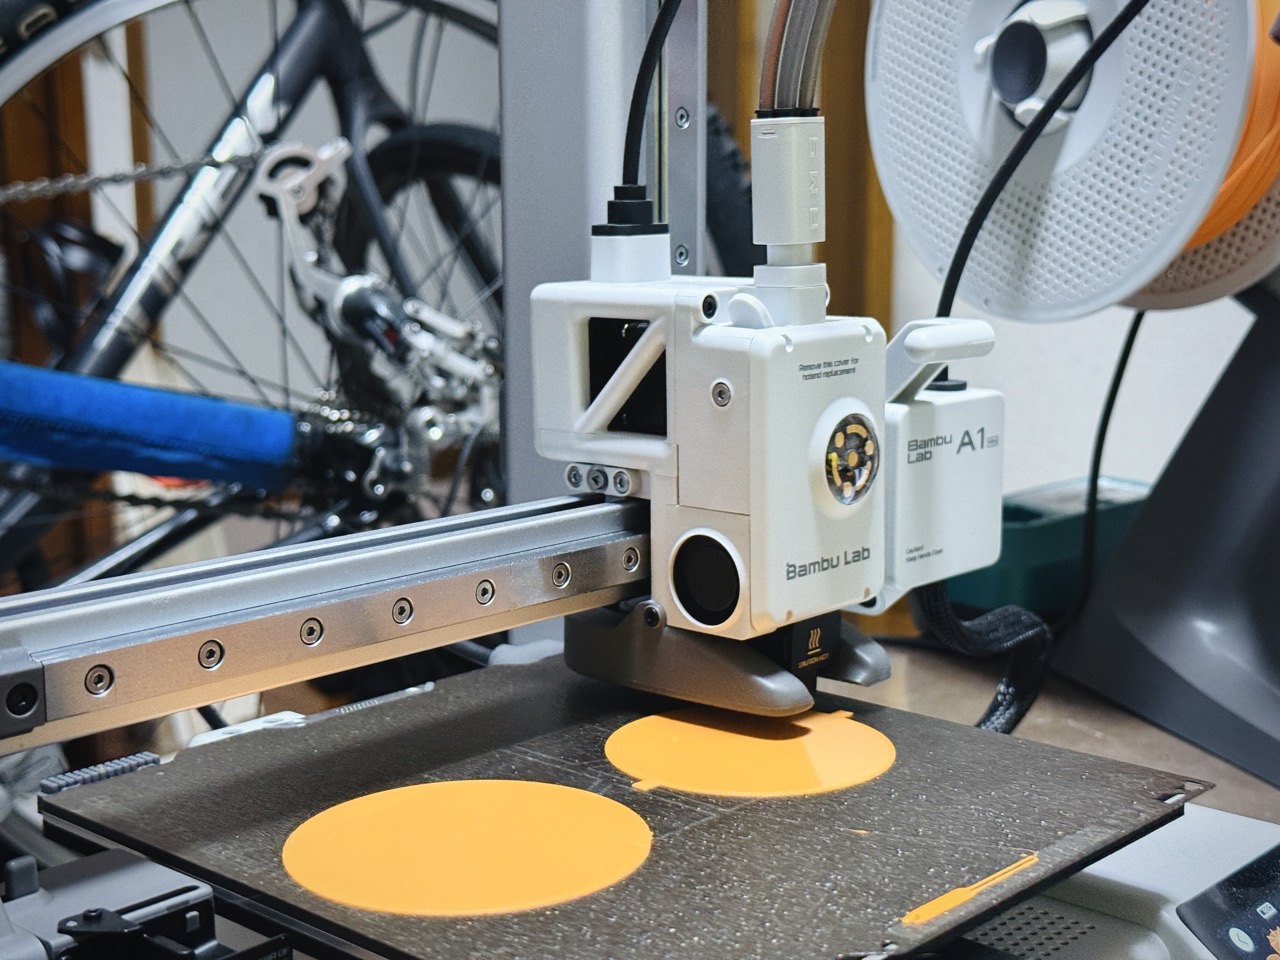
For the printing plate, I wrote the characters in Procreate and exported them as a PSD file. Then, I used Illustrator’s image trace function to convert the design into Bézier curves and exported it as an SVG file. Finally, I extruded the design in BambuStudio and 3D-printed it using the A1 mini.
This step went smoothly.
When I looked up how to make stamps with a 3D printer on YouTube, I noticed that many people forget to flip the design horizontally during the first print. Well, as someone who calls myself an Ukiyo-e artist, that’s a mistake I wouldn’t make!
 The registration portion, however, was tricky.
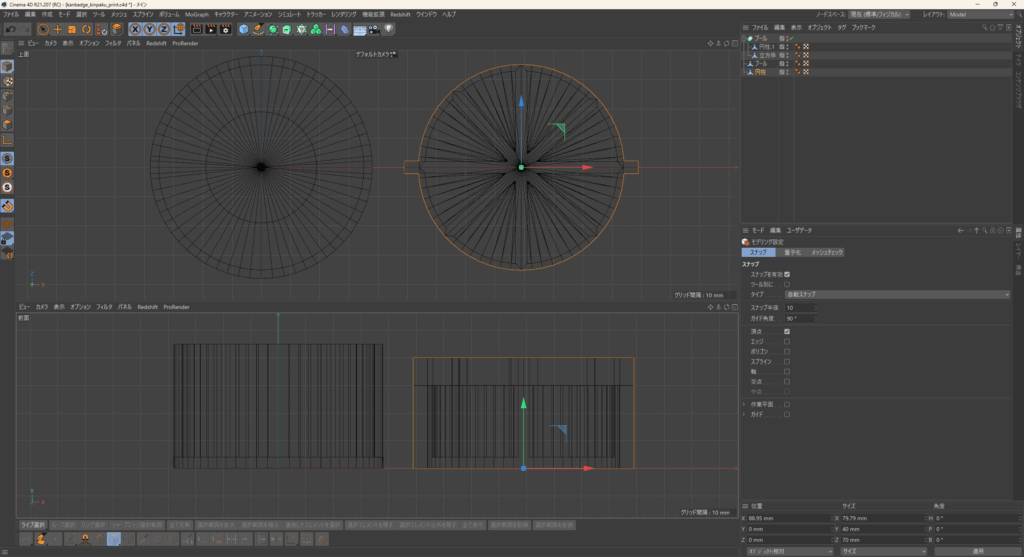
Due to certain circumstances, I couldn’t use 3D CAD software, so I had to design it using polygon modeling.
When I proceeded with modeling the registration parts using a polygon subdivision that would align perfectly with the smooth circular plate I had created earlier, certain views disappeared, the software froze, or it completely crashed.
I suspect my 2017 desktop PC’s GPU is nearing the end of its lifespan… Jesus.
 Even after finally completing the data and beginning the print, I noticed significant warping and shrinkage, possibly due to insufficient drying time for the PLA filament—this put me in a rather gloomy mood.
 As expected, warping and shrinkage caused interference, making it impossible to assemble.
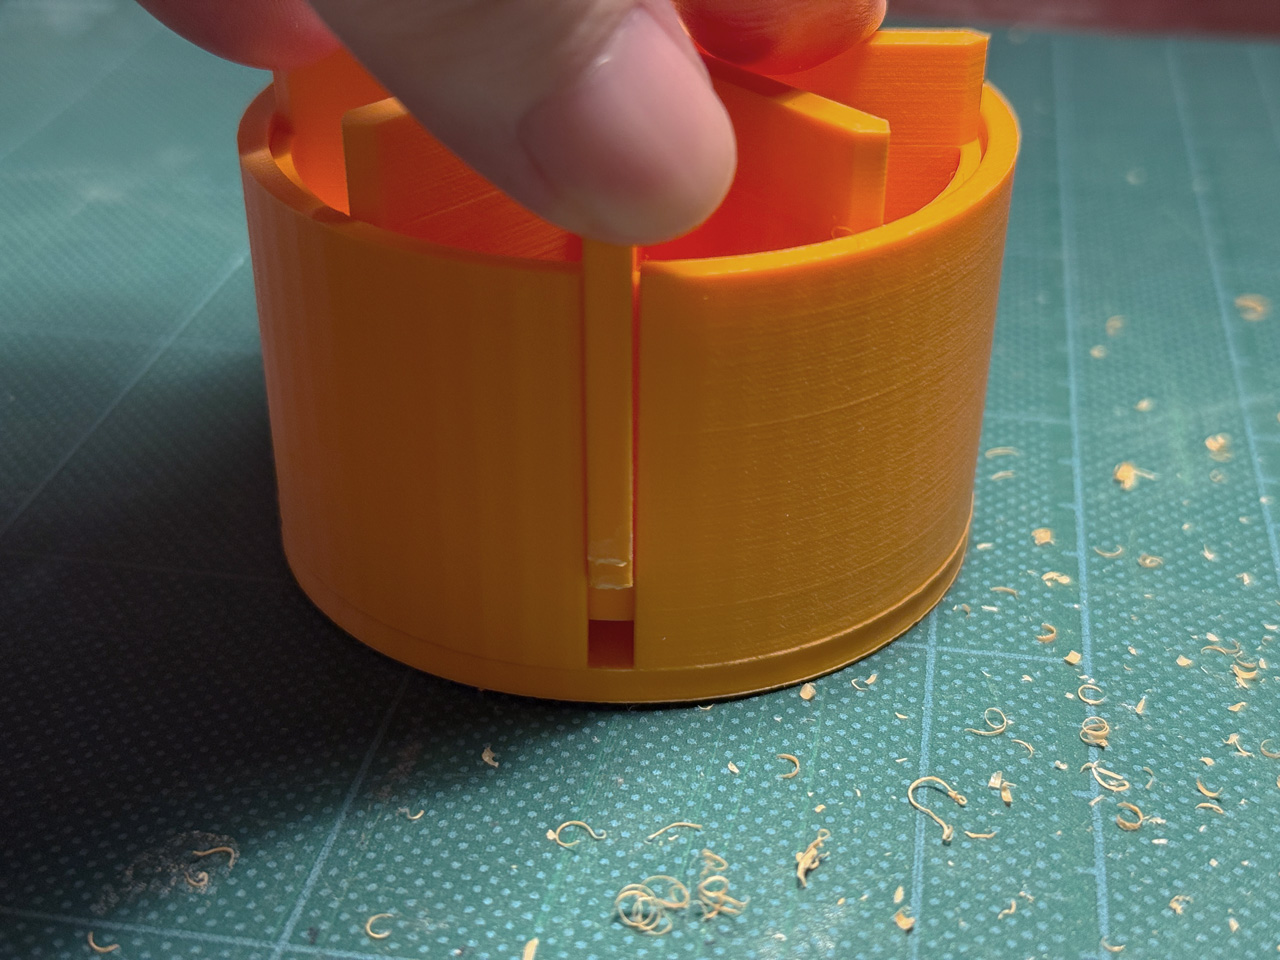
So, I resorted to using a craft knife and file to manually refine the parts.
The muscle memory of my high school years spent creating semi-scratch Gundam models came in handy!
Here’s a photo of the piece successfully fitted into place.
 I’ve laid it all out (already tested with gold ink).
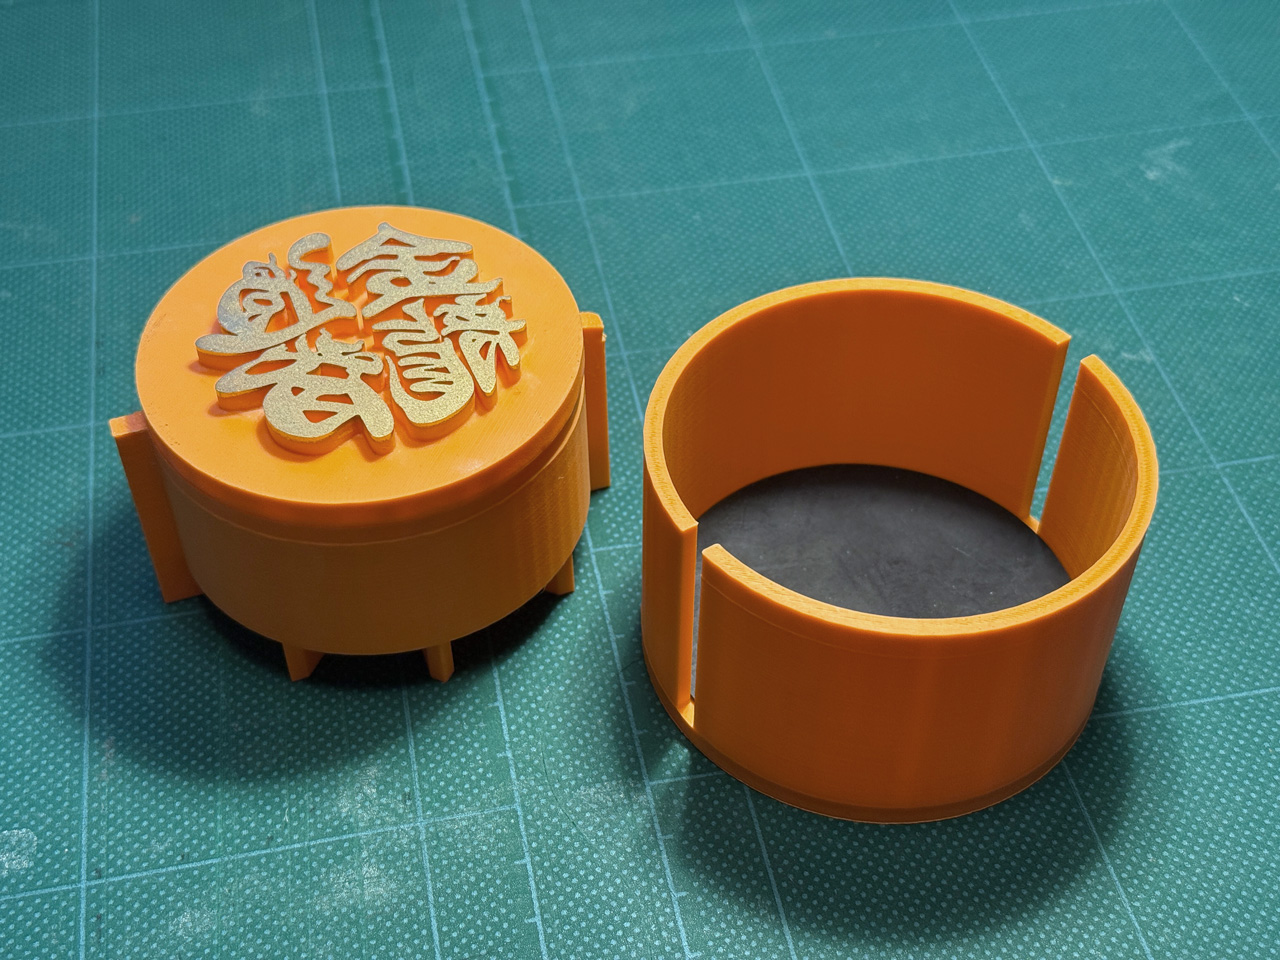
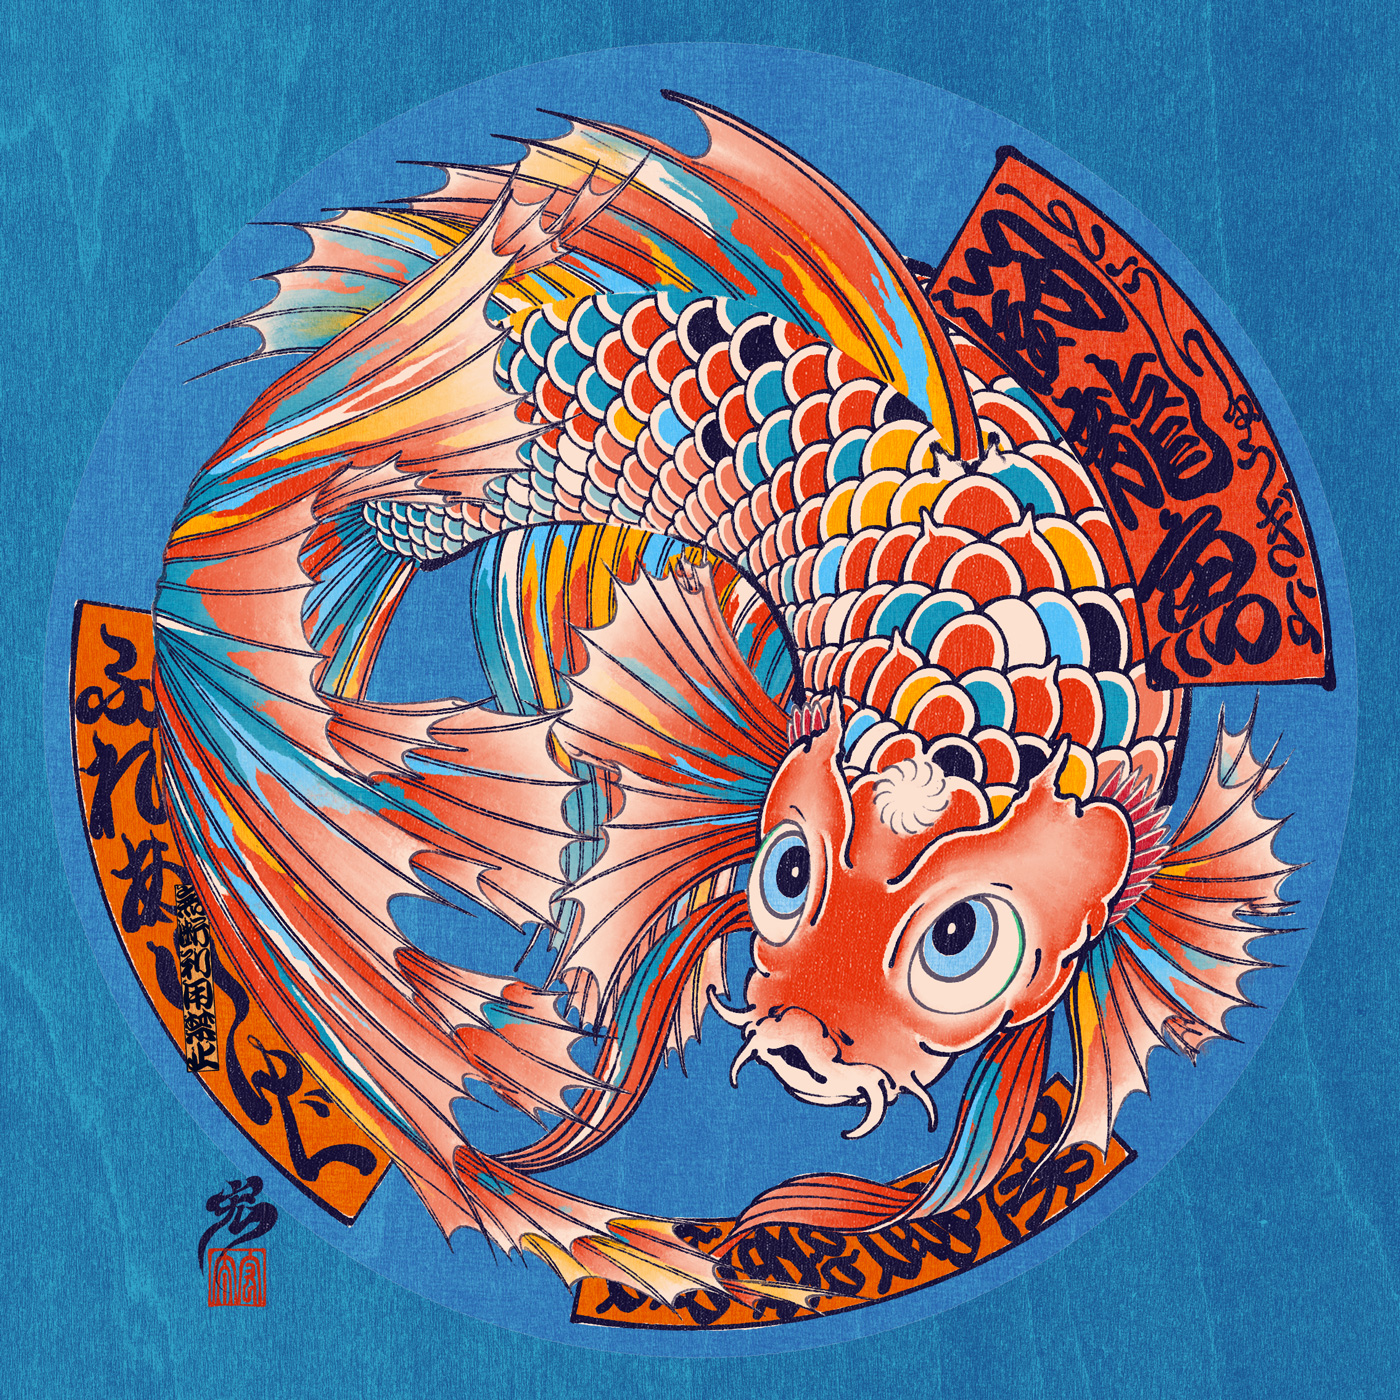
 First, the pressing side: The plate and the pressing part are separable. Well, they’re just held together with double-sided tape. Since the Kantei-ryu characters for this “Kase Kin Ryu” (asia arowana) don’t require attention to rotation direction, the plate is circular. For plates needing rotation fixation, the plan is to print them with the same rail as the pressing part to prevent misalignment.
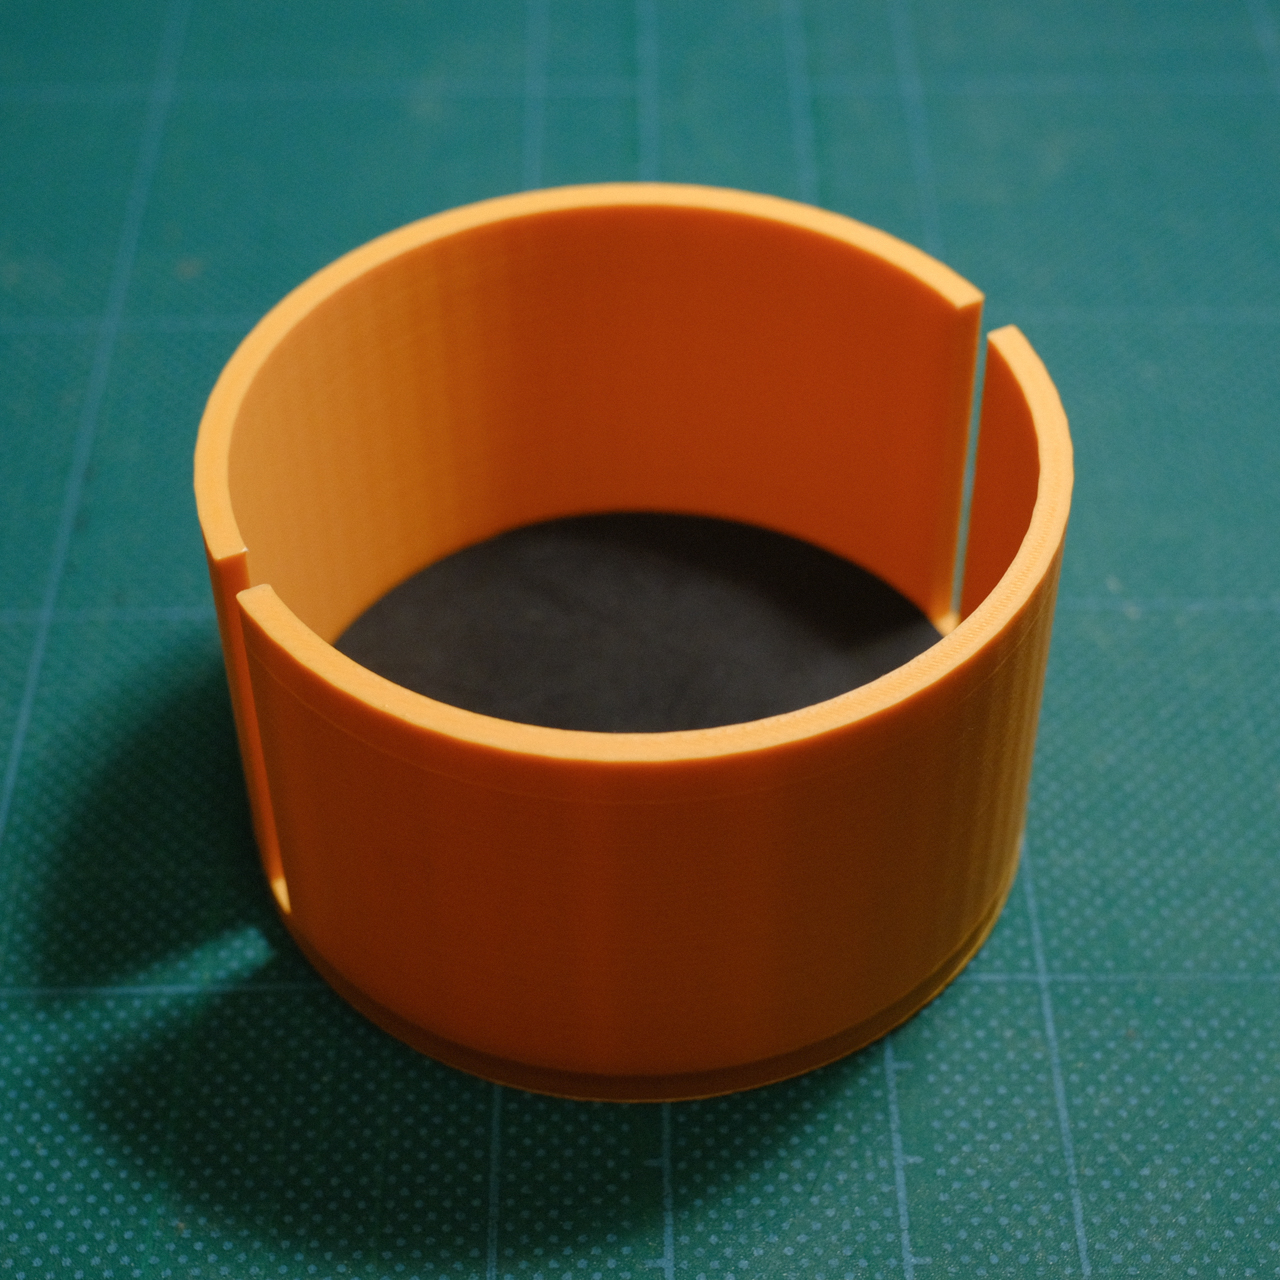 Next, the receiving side: It’s an extremely simple structure, but the clearance is finished so it can be inserted almost without play. The bottom currently has a 1mm rubber sheet cut into a circle. A material with a bit more cushion, like felt or urethane sheet, might be better.
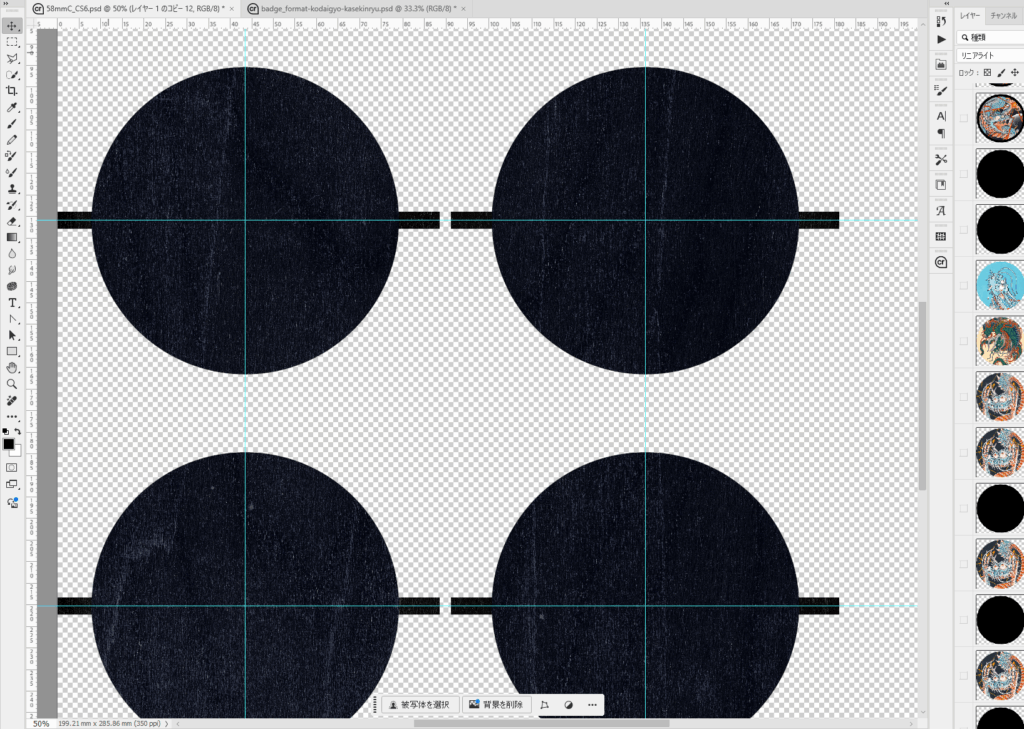 For KENTOR, I added a 4mm-thick bar to a φ70mm design. The Kantei-ryu characters for this “Kase Kin Ryu” are just the background this time.
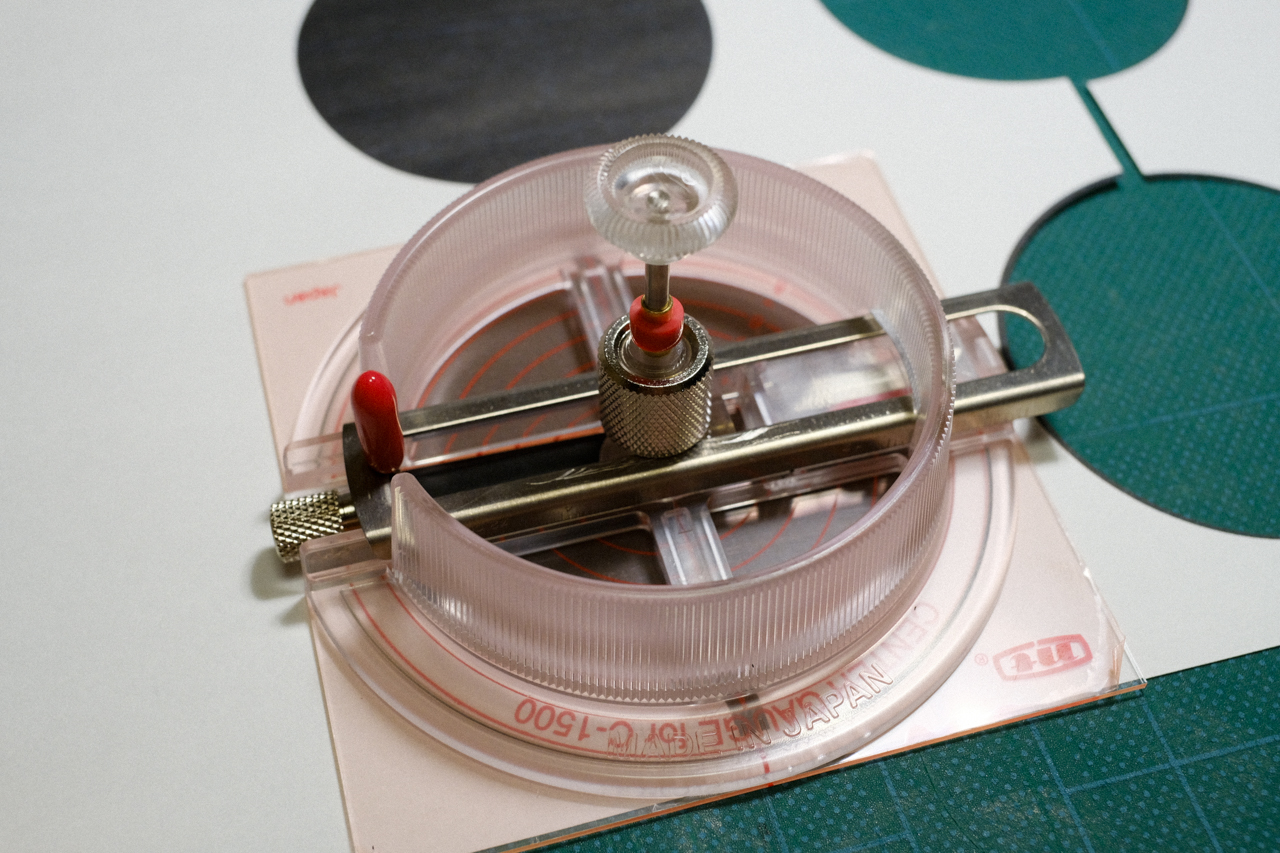 The ever-reliable NT Circle Cutting Clear iC-1500P makes another appearance. It’d be nice if the blade position had a scale or something (…maybe I’ll make that in 3D next?), but I cut the circle carefully to avoid cutting the bar.
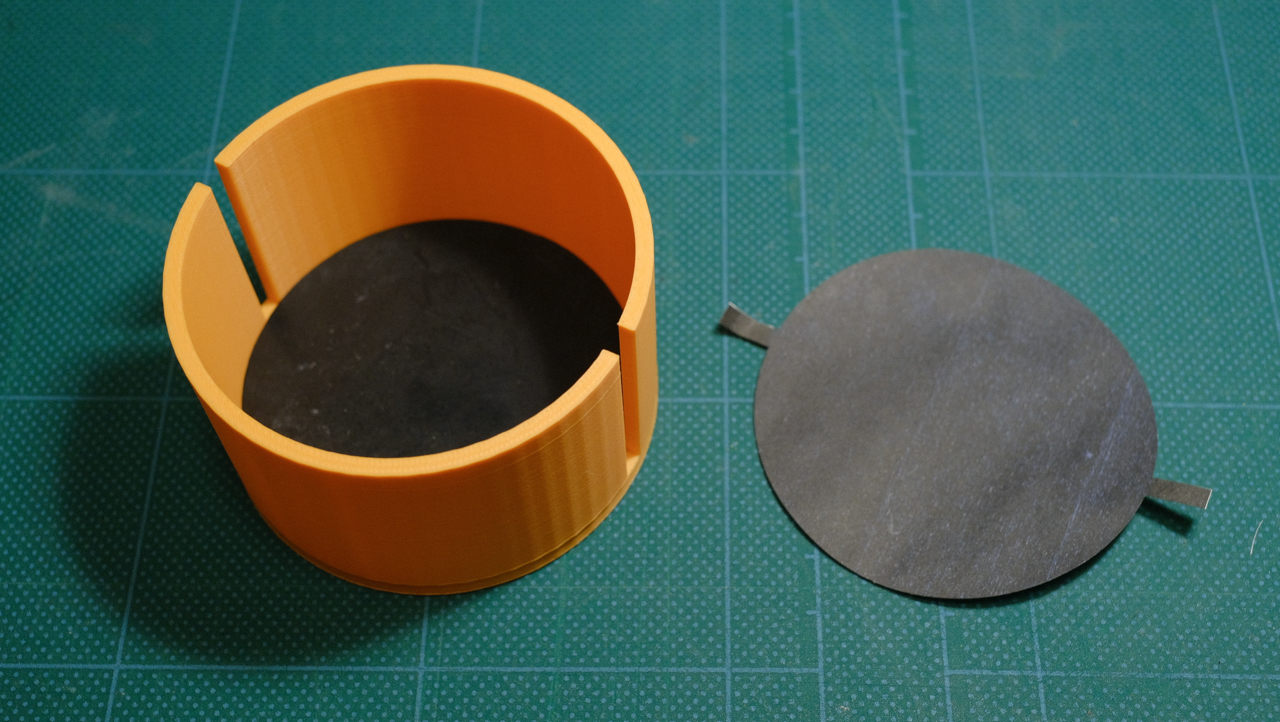 The cut-out design is set into the receiving part. No need for bars this time, but I added them anyway for fun.
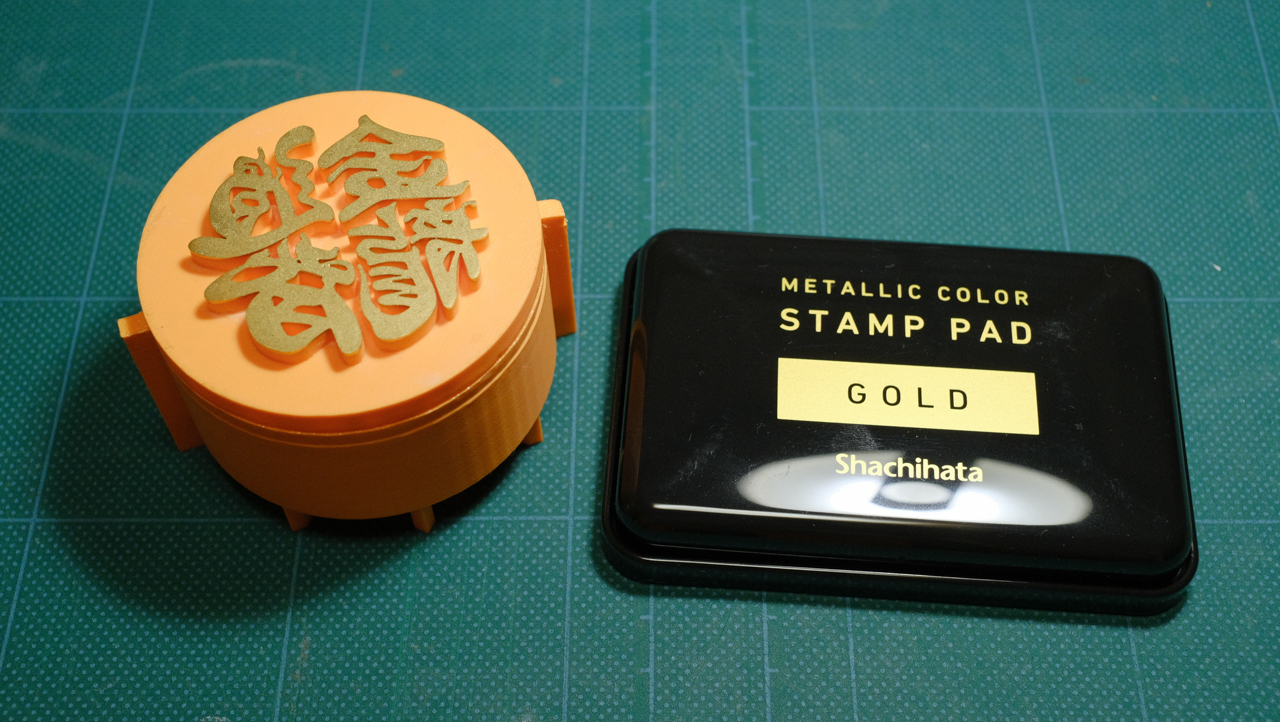 The paint is Shachihata’s Metallic Color Stamp Pad in Gold. No photos of the inking process since the amount of ink and the timing before pressing are critical.
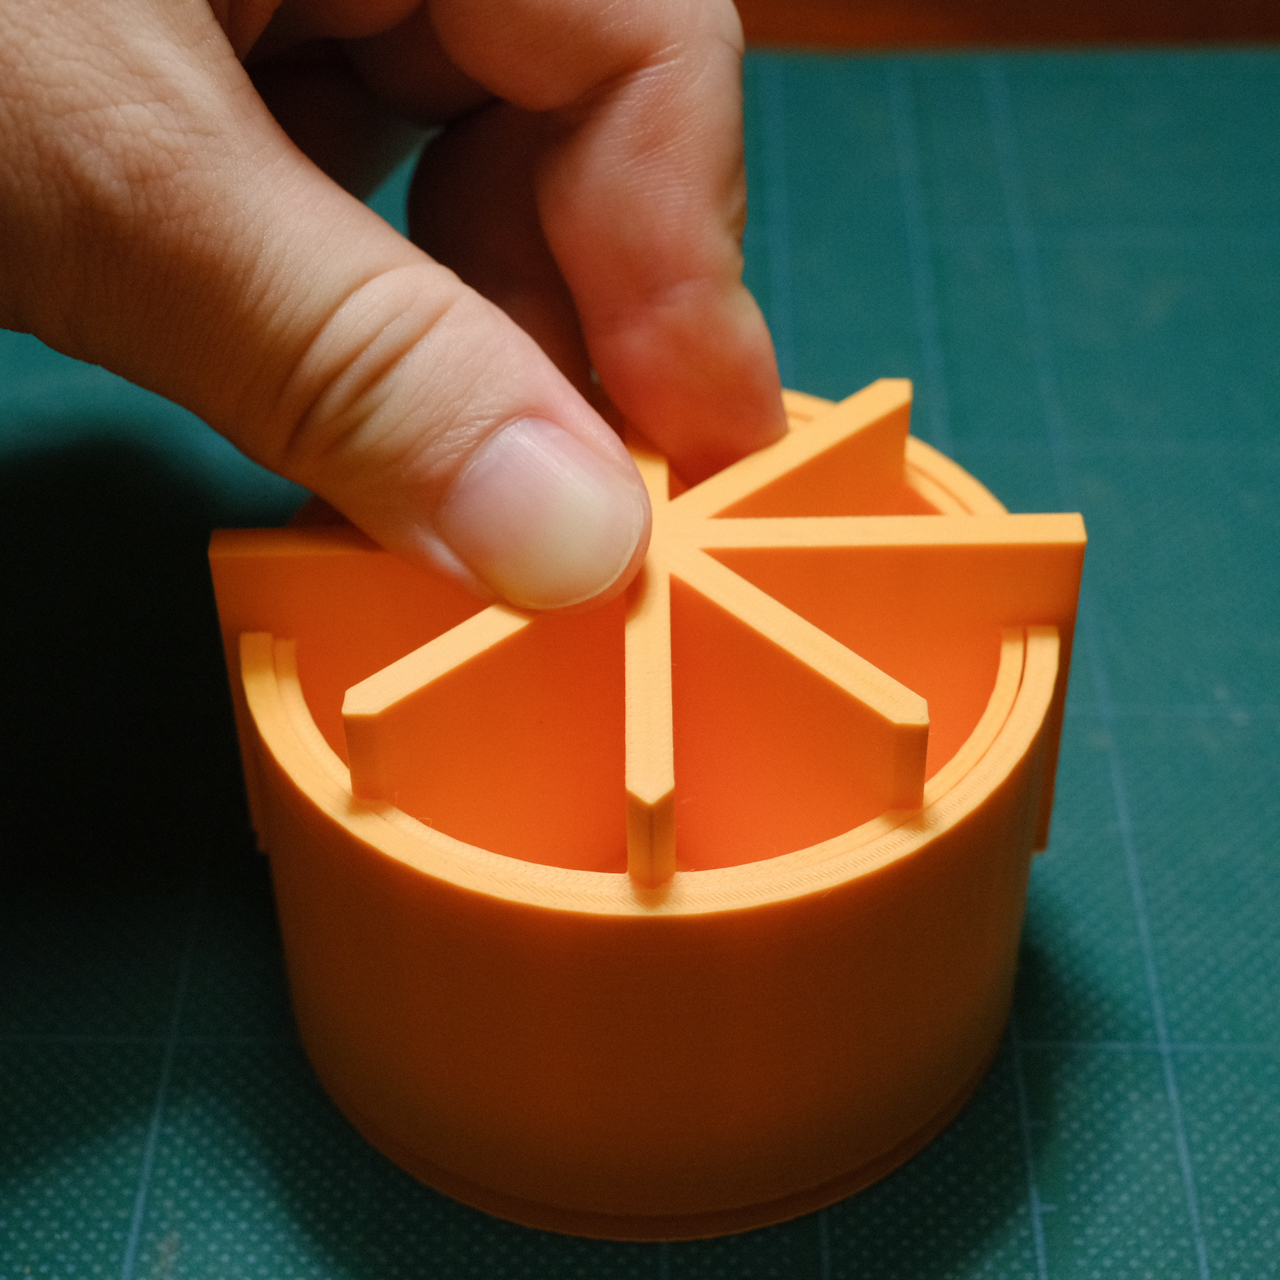 Pressing: The large asterisk shape is designed to press from all directions to improve gold adhesion. It also saves filament.
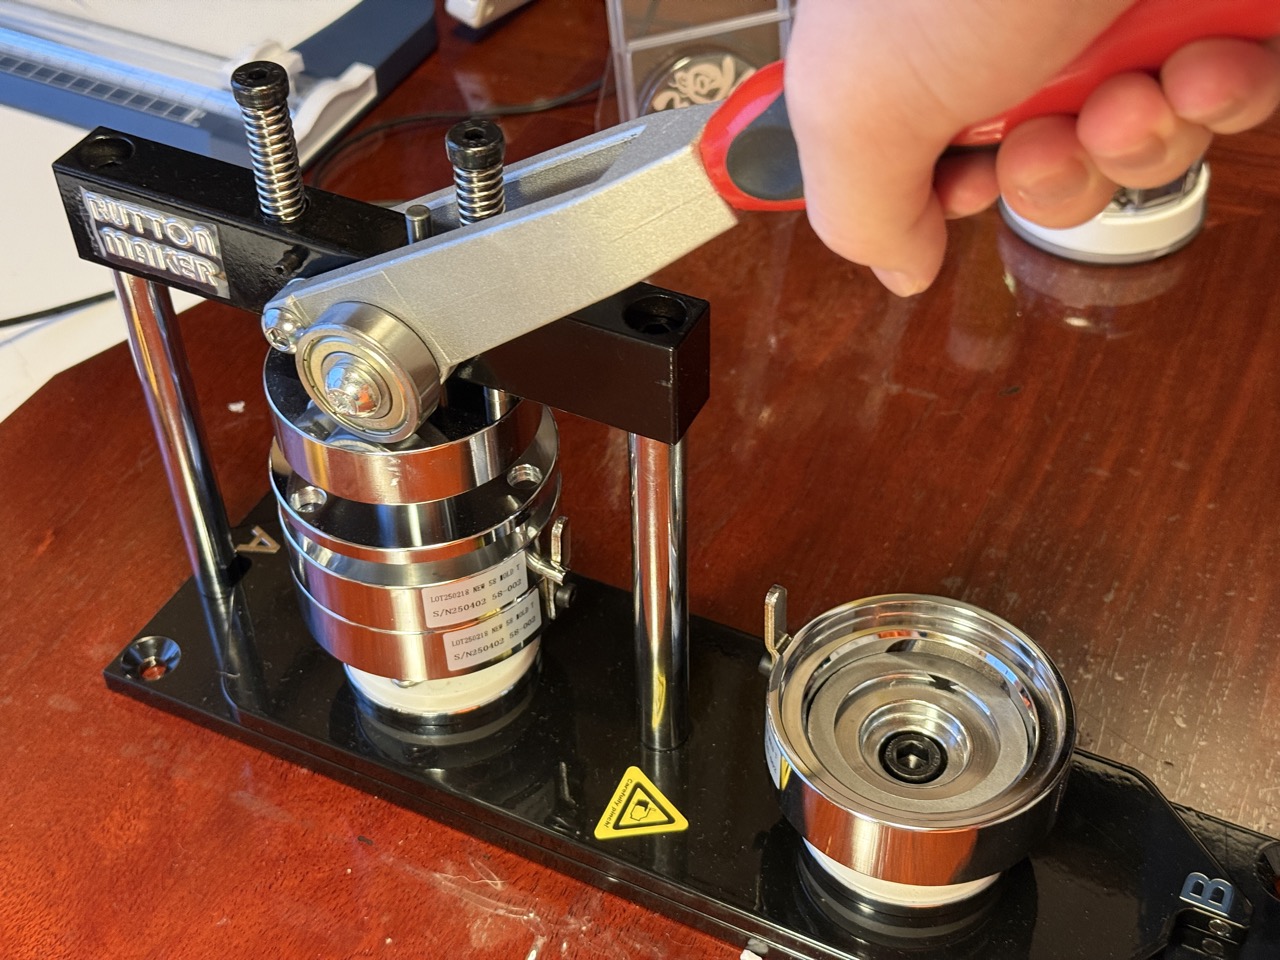 Badge-making: Placing a transparent film over the gold is a delicate task—if the film shifts, all the effort is ruined. So, “the photo is I am pretending to press. There is no badge inside.”
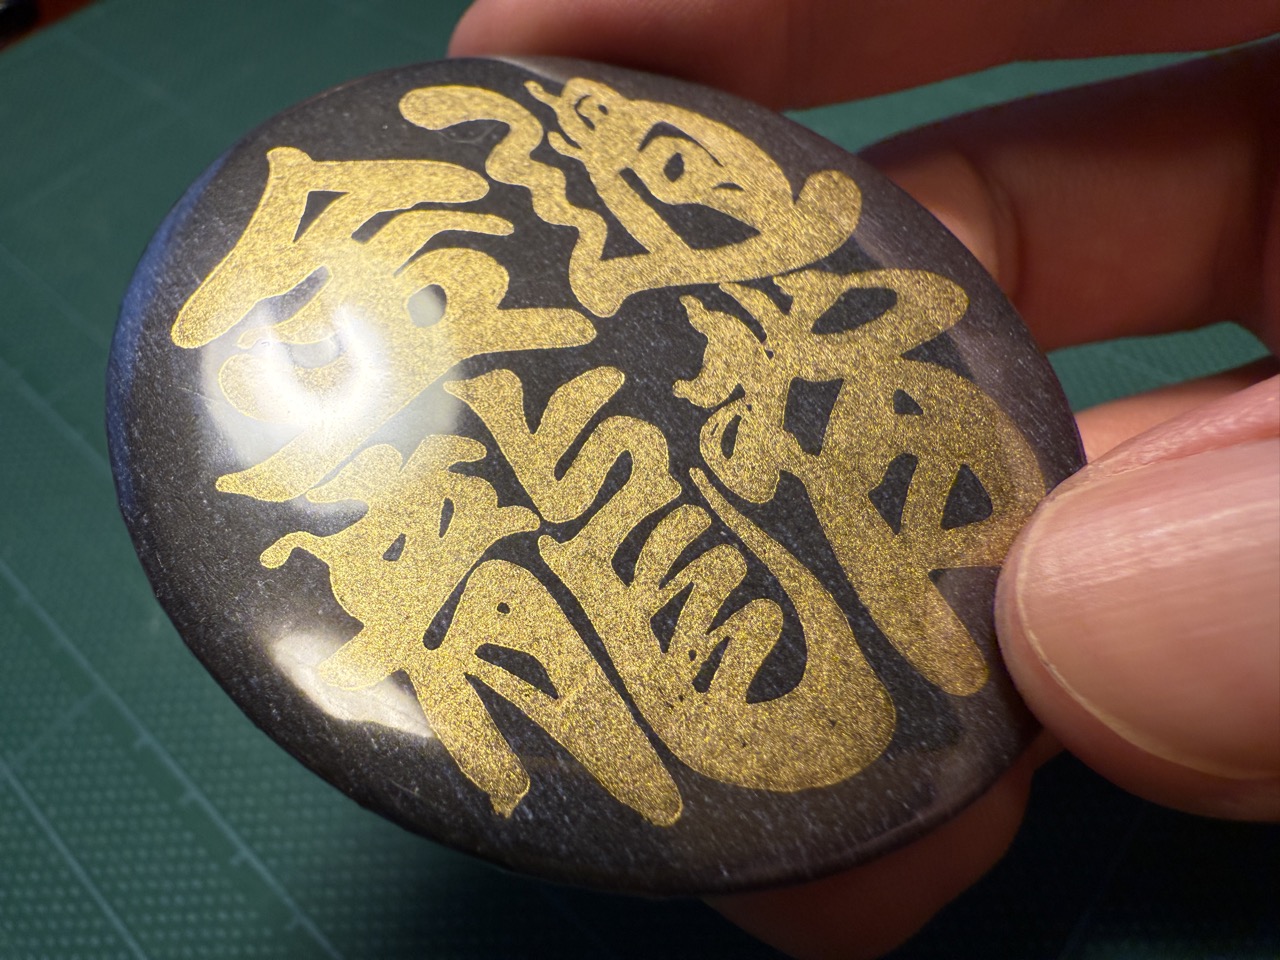 How’s that? It’s properly, solidly gold, right?!
I’d say it’s a huge success. With this, I’ve unlocked the achievement of making something gold for Golden Week!
The plate has sufficient precision, and printing takes less than an hour (though sanding the surface is, of course, necessary). For the Kantei-ryu character series, it should print without issues.
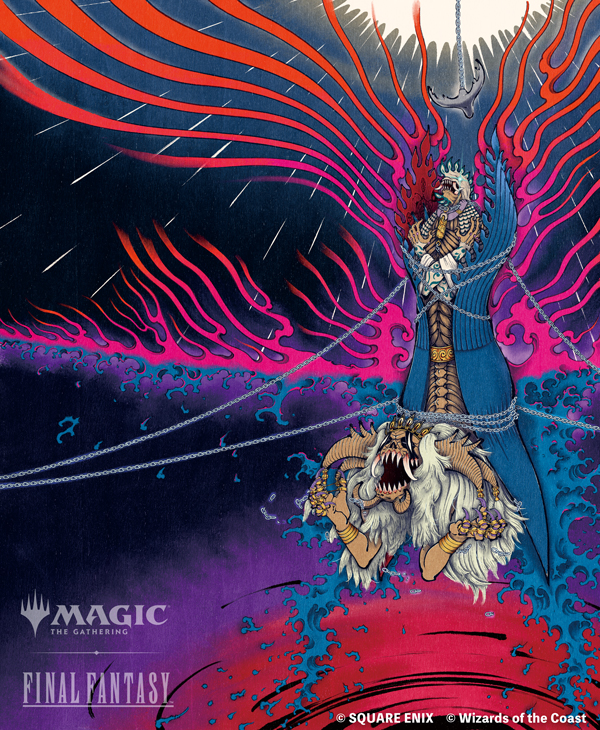
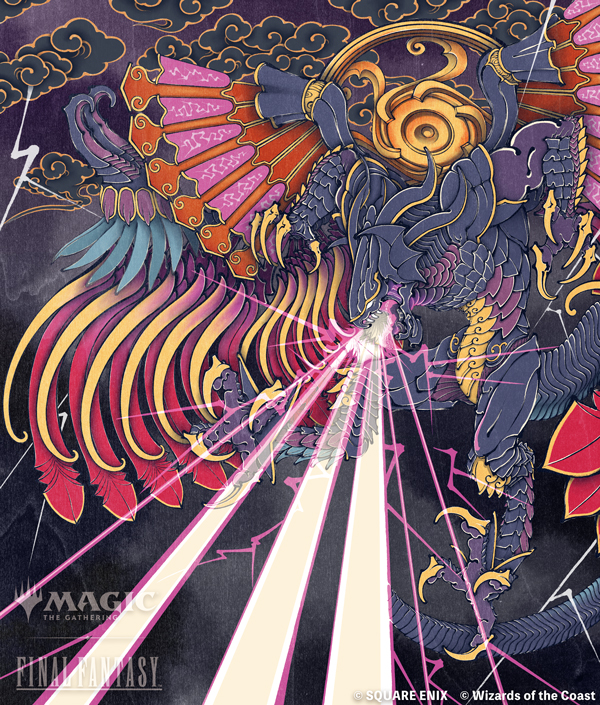
The problem is plates for illustrations. For example, Kabuto snake crest can be printed, but the edges of armor are probably impossible with an FDM 3D printer. It’s likely too tough due to nozzle size and strength.
Looks like I might need an SLA 3D printer! …Just kidding, that’s way too hard on my wallet, so I won’t buy one for a while.
This time, the article dove deeper into the crafting perspective compared to last time.
None of us are built to feel satisfied just using tools or products as they are. That thrill from the day I added an inspection hatch to the calf of an MG RX78-2 Gundam—it’s that kind of meaningful time that comes rushing back.
In a previous article, I mentioned buying a can badge machine and producing badges using my own artwork. Since then, customers have purchased them, and they’ve been well received—things are going very well!
This article is about surviving the Reiwa era through desktop manufacturing, aiming for even greater heights.
As the title suggests, I wanted to incorporate gold into my can badges using special printing techniques.
Initially, my plan was to print the design with an inkjet printer, then print the gold areas with a monochrome laser printer, and finally use a hot stamping paper to transfer the gold foil with an iron. However, the 14,000-yen laser printer I bought last year failed to align the print correctly, whether using the paper tray or manual feed, so I had to abandon that approach.
Then, I came up with the idea of creating a gold-specific printing plate to ensure proper alignment—essentially a Reiwa-era update on traditional Ukiyo-e registration. In traditional multi-color Ukiyo-e woodblock printing, “見当 (kentō)” refers to the carved registration marks that ensure precise alignment of different color layers. By combining this concept with the “R” from Reiwa, I named the system “KENTOR.”
There were no rough sketches or detailed design plans—I had everything mapped out in my head.
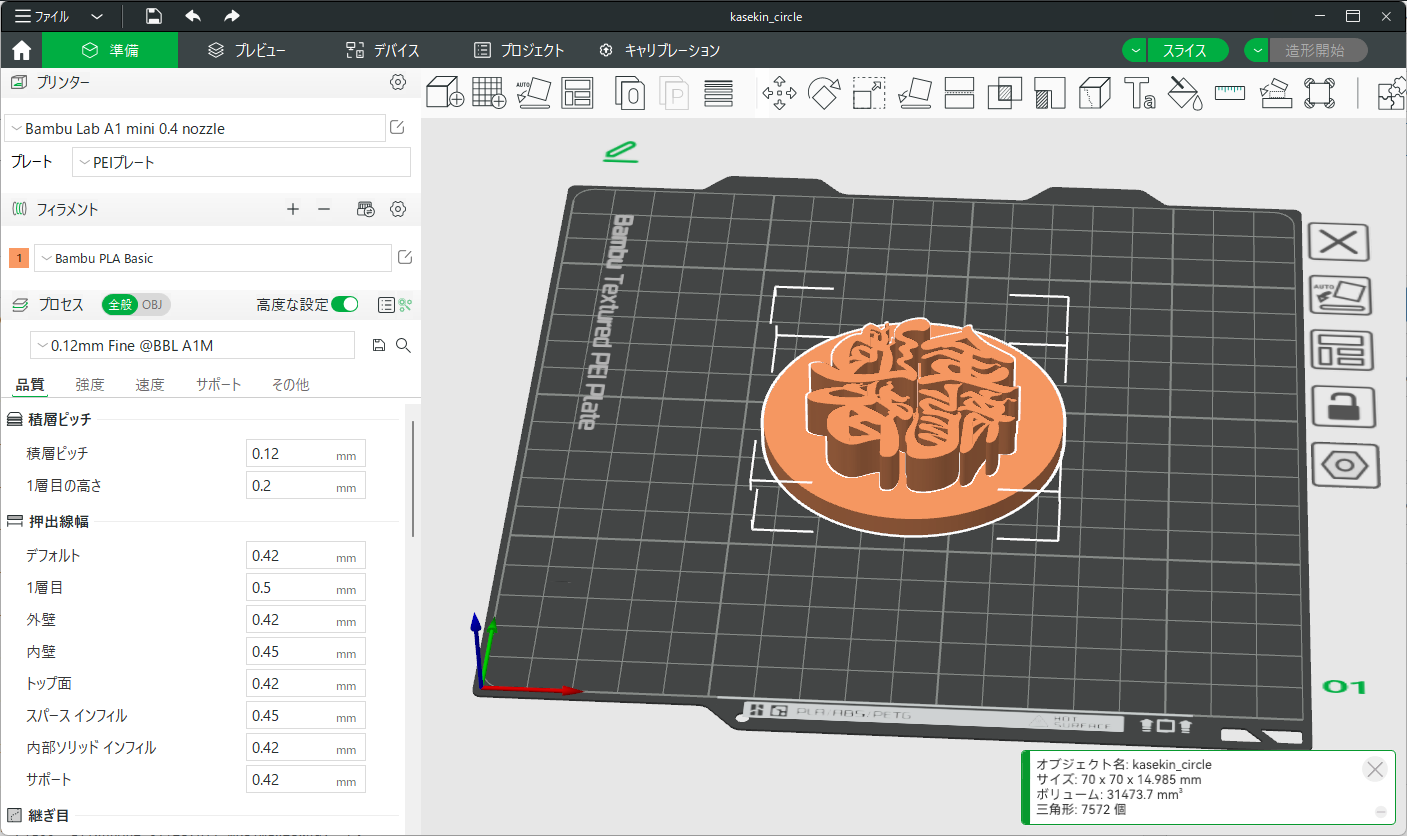
For the printing plate, I wrote the characters in Procreate and exported them as a PSD file. Then, I used Illustrator’s image trace function to convert the design into Bézier curves and exported it as an SVG file. Finally, I extruded the design in BambuStudio and 3D-printed it using the A1 mini.
This step went smoothly.
When I looked up how to make stamps with a 3D printer on YouTube, I noticed that many people forget to flip the design horizontally during the first print. Well, as someone who calls myself an Ukiyo-e artist, that’s a mistake I wouldn’t make!
The registration portion, however, was tricky.Due to certain circumstances, I couldn’t use 3D CAD software, so I had to design it using polygon modeling.
When I proceeded with modeling the registration parts using a polygon subdivision that would align perfectly with the smooth circular plate I had created earlier, certain views disappeared, the software froze, or it completely crashed.
I suspect my 2017 desktop PC’s GPU is nearing the end of its lifespan… Jesus.
Even after finally completing the data and beginning the print, I noticed significant warping and shrinkage, possibly due to insufficient drying time for the PLA filament—this put me in a rather gloomy mood.
As expected, warping and shrinkage caused interference, making it impossible to assemble.So, I resorted to using a craft knife and file to manually refine the parts.
The muscle memory of my high school years spent creating semi-scratch Gundam models came in handy!
Here’s a photo of the piece successfully fitted into place.
KENTOR Completed
I’ve laid it all out (already tested with gold ink).
First, the pressing side: The plate and the pressing part are separable. Well, they’re just held together with double-sided tape. Since the Kantei-ryu characters for this “Kase Kin Ryu” (asia arowana) don’t require attention to rotation direction, the plate is circular. For plates needing rotation fixation, the plan is to print them with the same rail as the pressing part to prevent misalignment.
Next, the receiving side: It’s an extremely simple structure, but the clearance is finished so it can be inserted almost without play. The bottom currently has a 1mm rubber sheet cut into a circle. A material with a bit more cushion, like felt or urethane sheet, might be better. Special Printing in Action!
For KENTOR, I added a 4mm-thick bar to a φ70mm design. The Kantei-ryu characters for this “Kase Kin Ryu” are just the background this time.
The ever-reliable NT Circle Cutting Clear iC-1500P makes another appearance. It’d be nice if the blade position had a scale or something (…maybe I’ll make that in 3D next?), but I cut the circle carefully to avoid cutting the bar.
The cut-out design is set into the receiving part. No need for bars this time, but I added them anyway for fun.
The paint is Shachihata’s Metallic Color Stamp Pad in Gold. No photos of the inking process since the amount of ink and the timing before pressing are critical.
Pressing: The large asterisk shape is designed to press from all directions to improve gold adhesion. It also saves filament.
Badge-making: Placing a transparent film over the gold is a delicate task—if the film shifts, all the effort is ruined. So, “the photo is I am pretending to press. There is no badge inside.” Shiny Gold Badge Complete!!!
How’s that? It’s properly, solidly gold, right?! I’d say it’s a huge success. With this, I’ve unlocked the achievement of making something gold for Golden Week!
The plate has sufficient precision, and printing takes less than an hour (though sanding the surface is, of course, necessary). For the Kantei-ryu character series, it should print without issues.
The problem is plates for illustrations. For example, Kabuto snake crest can be printed, but the edges of armor are probably impossible with an FDM 3D printer. It’s likely too tough due to nozzle size and strength.
Looks like I might need an SLA 3D printer! …Just kidding, that’s way too hard on my wallet, so I won’t buy one for a while.
Summary
This time, the article dove deeper into the crafting perspective compared to last time.
None of us are built to feel satisfied just using tools or products as they are. That thrill from the day I added an inspection hatch to the calf of an MG RX78-2 Gundam—it’s that kind of meaningful time that comes rushing back.


1 Reaction