


I bought a badge-making machine. Now I can create merchandise whenever inspiration strikes.
06:32 April 19, 2025 |
column
Hello!
I immediately purchased the Pro-N4 badge-making machine and tried making my own original badges!
At first, I considered buying a parallel-imported “latest model 2025” product from Amazon or Yahoo!, but after reading some intense reviews such as “the product image showed metal parts for the sliding section, but what arrived was made of plastic,” I decided to spend an additional 20,000 yen for peace of mind—a conservative choice, if I may say so.
To state upfront—I’m extremely satisfied. I wholeheartedly recommend everyone try making badges by hand!
 I chose Kokuyo semi-gloss photo paper (0.14mm thick). After researching, I found that regular copy paper lacks sharpness and thicker paper tends to cause failures. Based on what I found, this seemed to be a good choice.
For cutting tools, I used the NT circle cutter clear iC-1500P. Initially, I bought the OLFA compass cutter, but I found it difficult to use as it started loosening while in use, so I replaced it. …Paper isn’t free, so mistakes aren’t an option.
 The Pro-N4’s usage instructions are thoroughly explained on YouTube, so I highly recommend checking them out.
The only issue I encountered was with the 58mm attachment, which included two spare parts called “gaskets”—large washer-like parts. When I inserted both of them, the mechanism didn’t close properly. It would’ve been nice if the instructions mentioned that only one should be used.
 For about two weeks, I’ve been dreaming of this *ka-gon* moment—replaying it in my head and even seeing it in my dreams. It’s like crushing an empty can or shredding paper—a satisfying kinship.
Incidentally, making one badge requires two *ka-gon* presses, and the first one is definitely more satisfying.
My thoughts: It’s incredibly easy and beautifully done.
For those who’d like to enjoy this experience sooner rather than later, here’s my advice: make sure to leave plenty of extra space in your design.
This was my only takeaway.
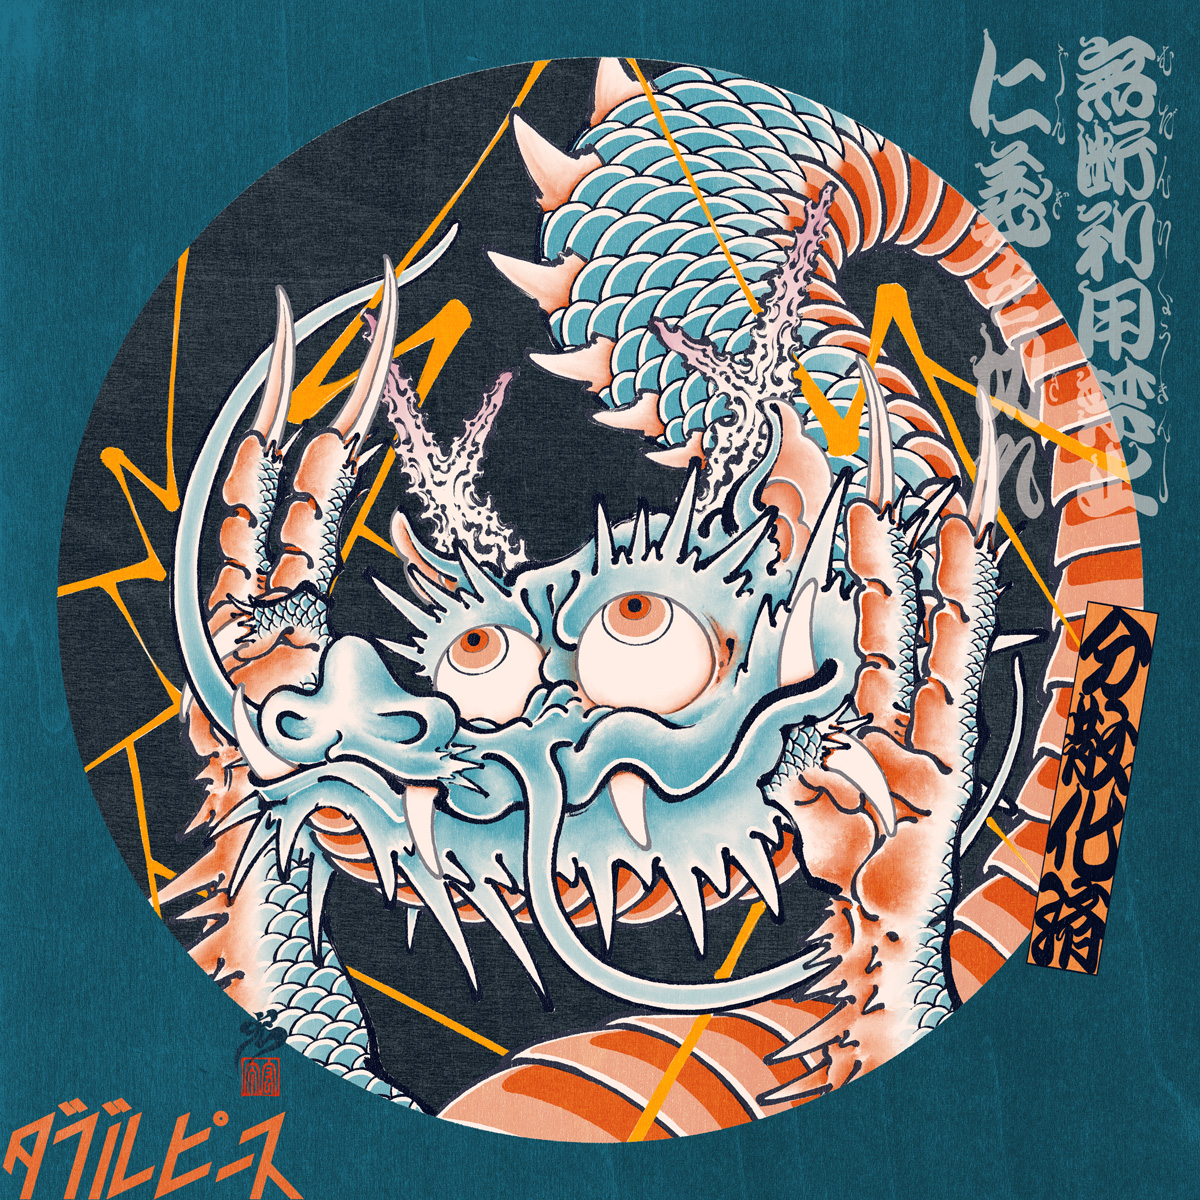
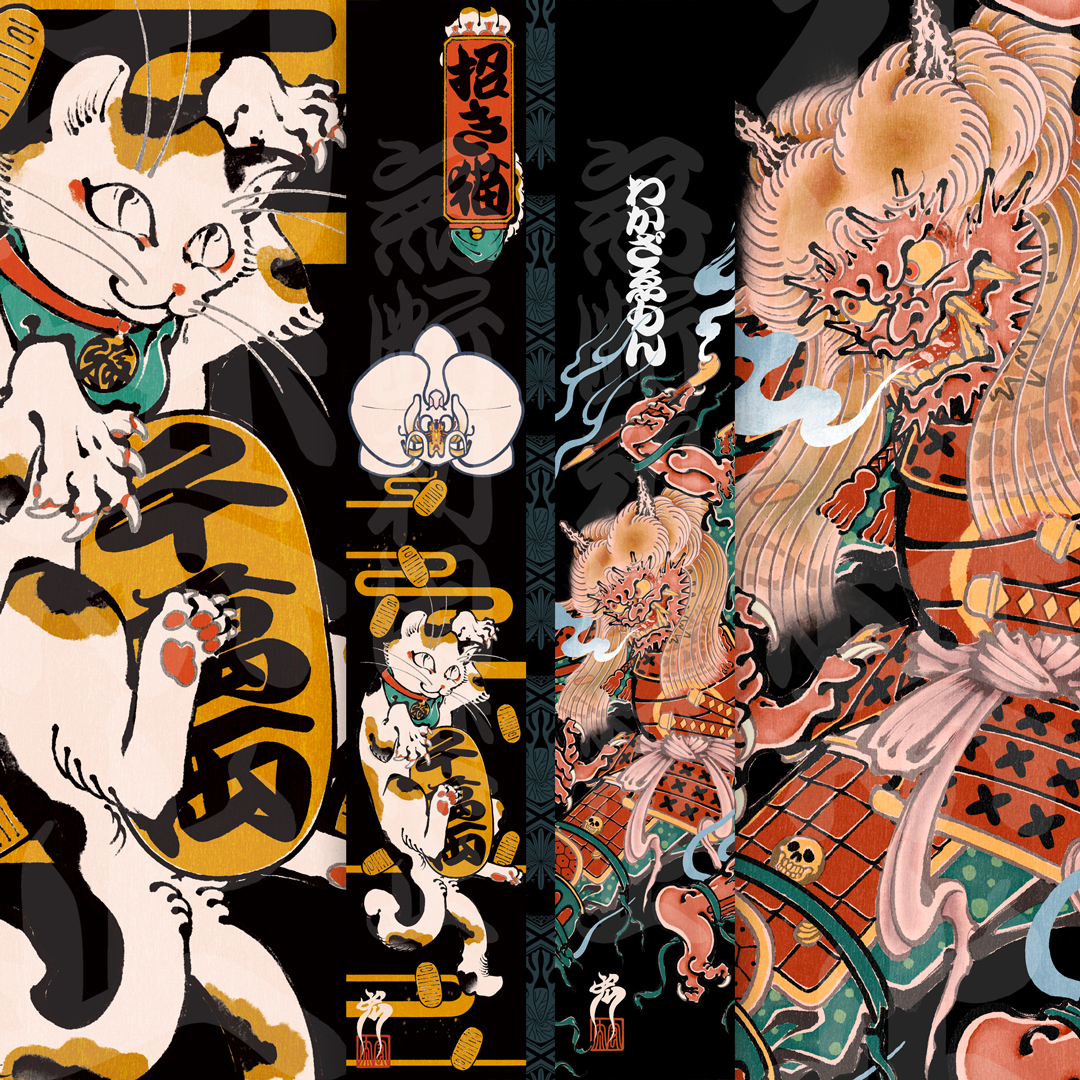
Of course, I downloaded a template and created a circular dragon illustration, but the fisheye effect made me realize my first design could’ve been positioned closer to the center.
From there, I carefully observed the actual results and adjusted the design in Photoshop, refining it by fractions of a millimeter. The latest print with a black border is the result of this effort.
By the third attempt, I managed to create something I can call perfect!(`・ω・´)y

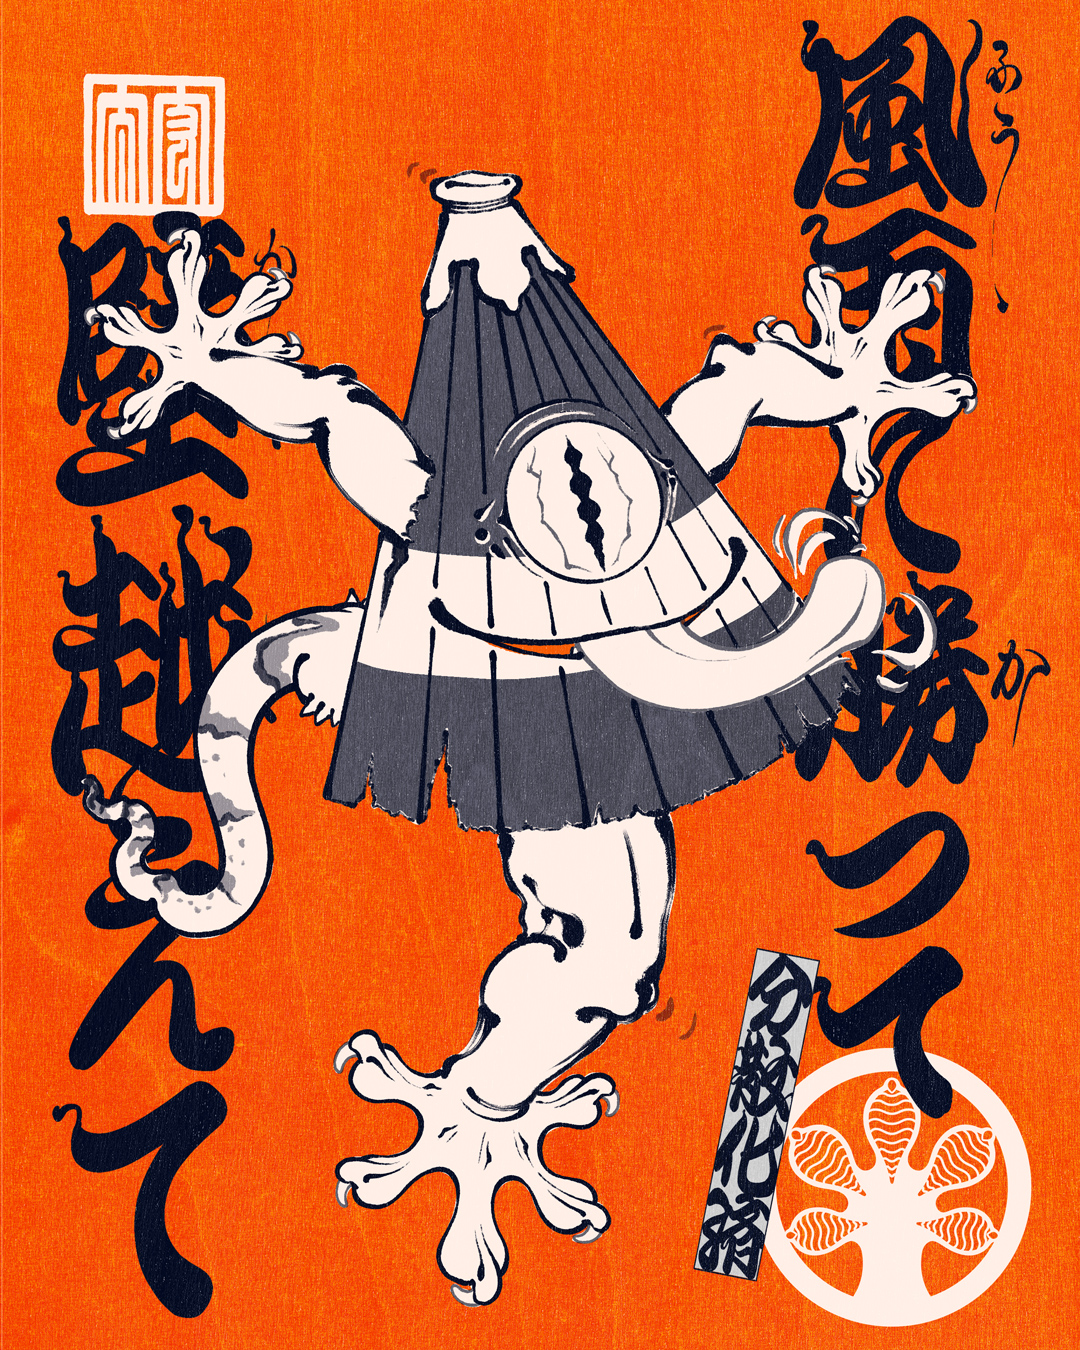
『Double Peace Dragon』Japanese-style badge
Size: 58mm diameter
Pin type: 500 yen (tax included)
Magnet type: 555 yen (tax included)
I’ve also filmed a video of the actual badge, so be sure to check it out!
In these times, I want to ensure that the reins of my craftsmanship remain firmly in my own hands.
I immediately purchased the Pro-N4 badge-making machine and tried making my own original badges!
At first, I considered buying a parallel-imported “latest model 2025” product from Amazon or Yahoo!, but after reading some intense reviews such as “the product image showed metal parts for the sliding section, but what arrived was made of plastic,” I decided to spend an additional 20,000 yen for peace of mind—a conservative choice, if I may say so.
To state upfront—I’m extremely satisfied. I wholeheartedly recommend everyone try making badges by hand!
First, print your illustration!
I chose Kokuyo semi-gloss photo paper (0.14mm thick). After researching, I found that regular copy paper lacks sharpness and thicker paper tends to cause failures. Based on what I found, this seemed to be a good choice.For cutting tools, I used the NT circle cutter clear iC-1500P. Initially, I bought the OLFA compass cutter, but I found it difficult to use as it started loosening while in use, so I replaced it. …Paper isn’t free, so mistakes aren’t an option.
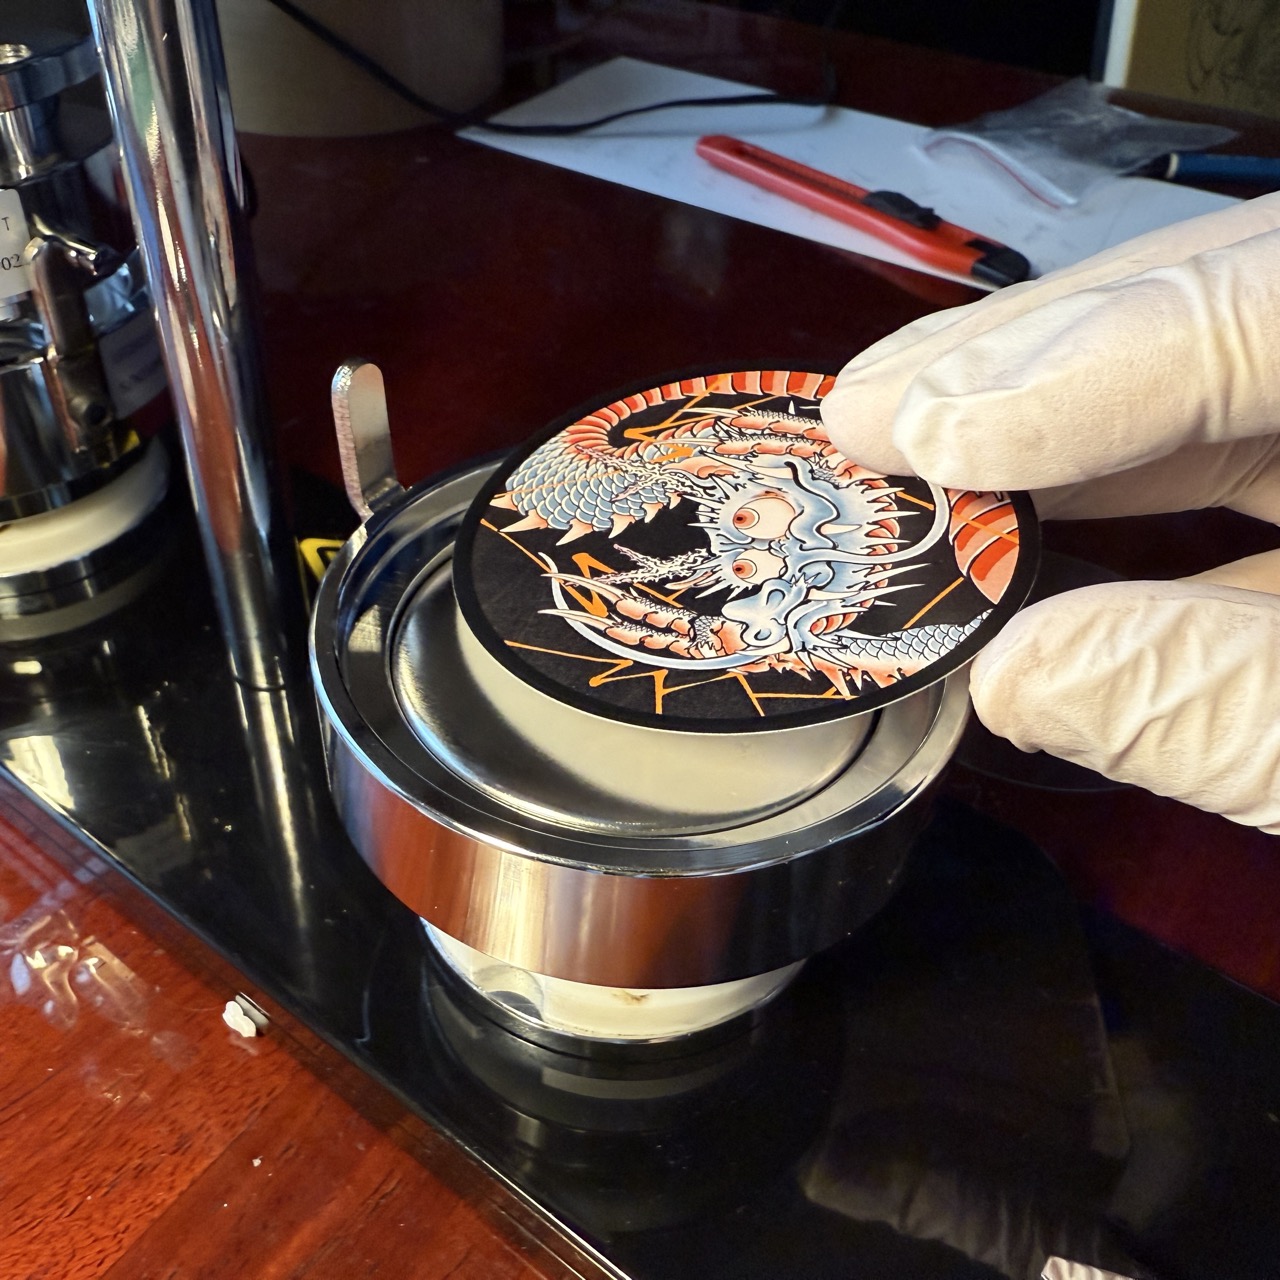
Next, set the badge-making machine!
The Pro-N4’s usage instructions are thoroughly explained on YouTube, so I highly recommend checking them out. The only issue I encountered was with the 58mm attachment, which included two spare parts called “gaskets”—large washer-like parts. When I inserted both of them, the mechanism didn’t close properly. It would’ve been nice if the instructions mentioned that only one should be used.
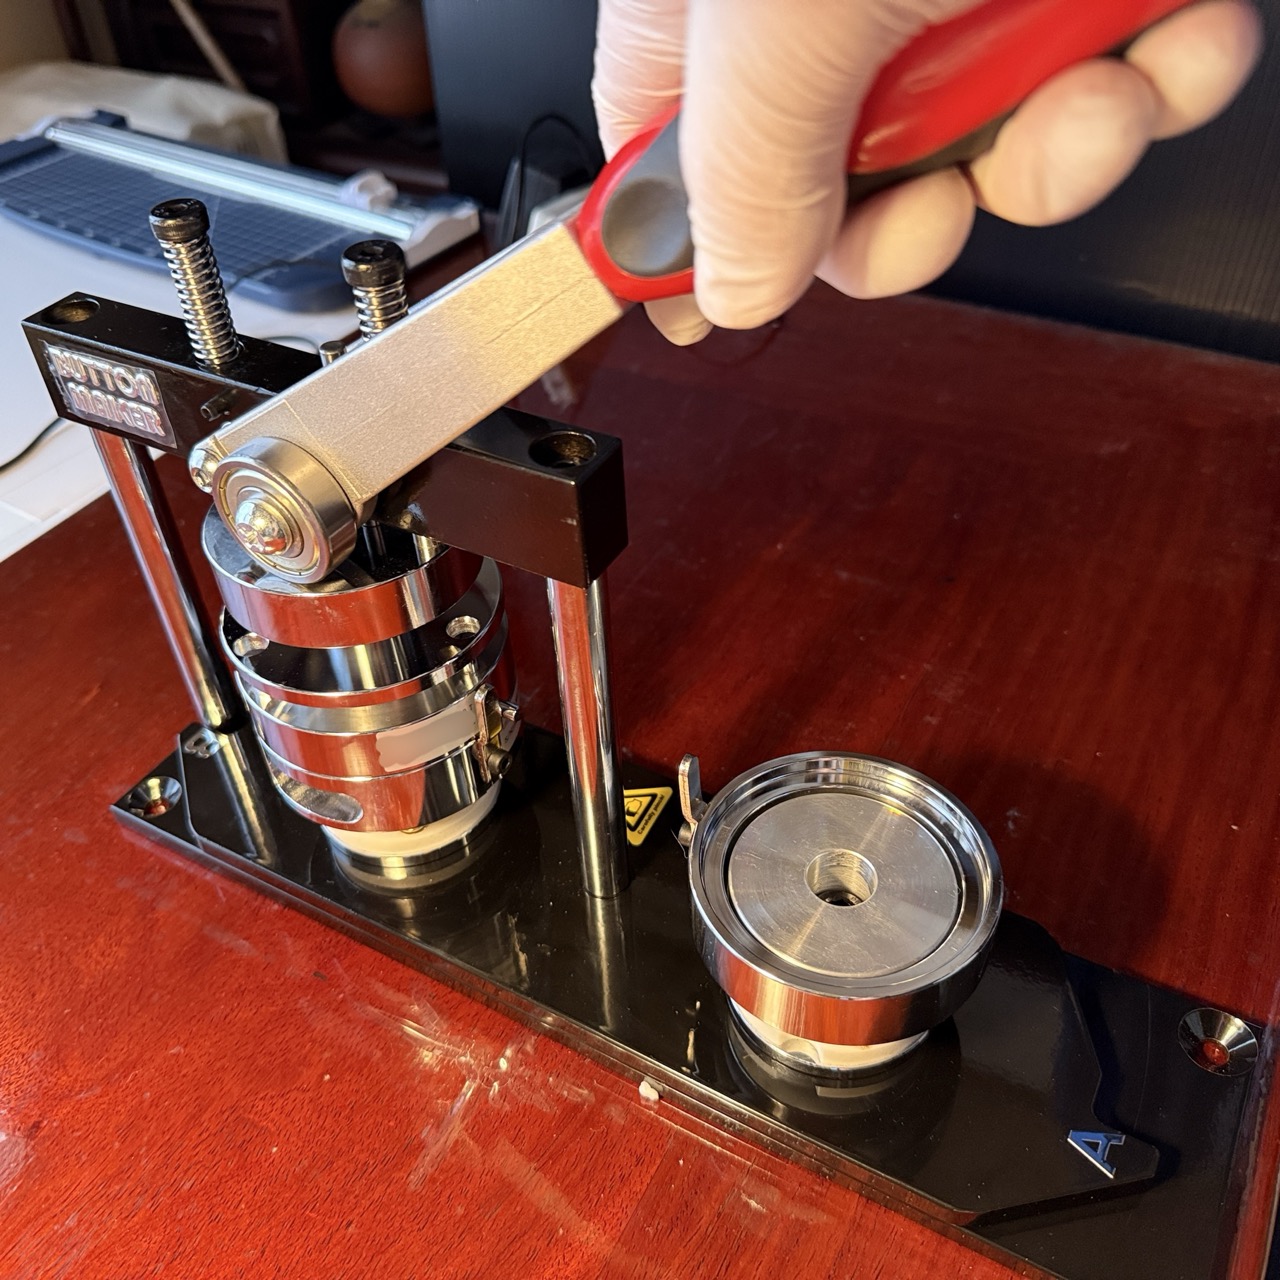
The thrilling *ka-gon* moment!
For about two weeks, I’ve been dreaming of this *ka-gon* moment—replaying it in my head and even seeing it in my dreams. It’s like crushing an empty can or shredding paper—a satisfying kinship. Incidentally, making one badge requires two *ka-gon* presses, and the first one is definitely more satisfying.
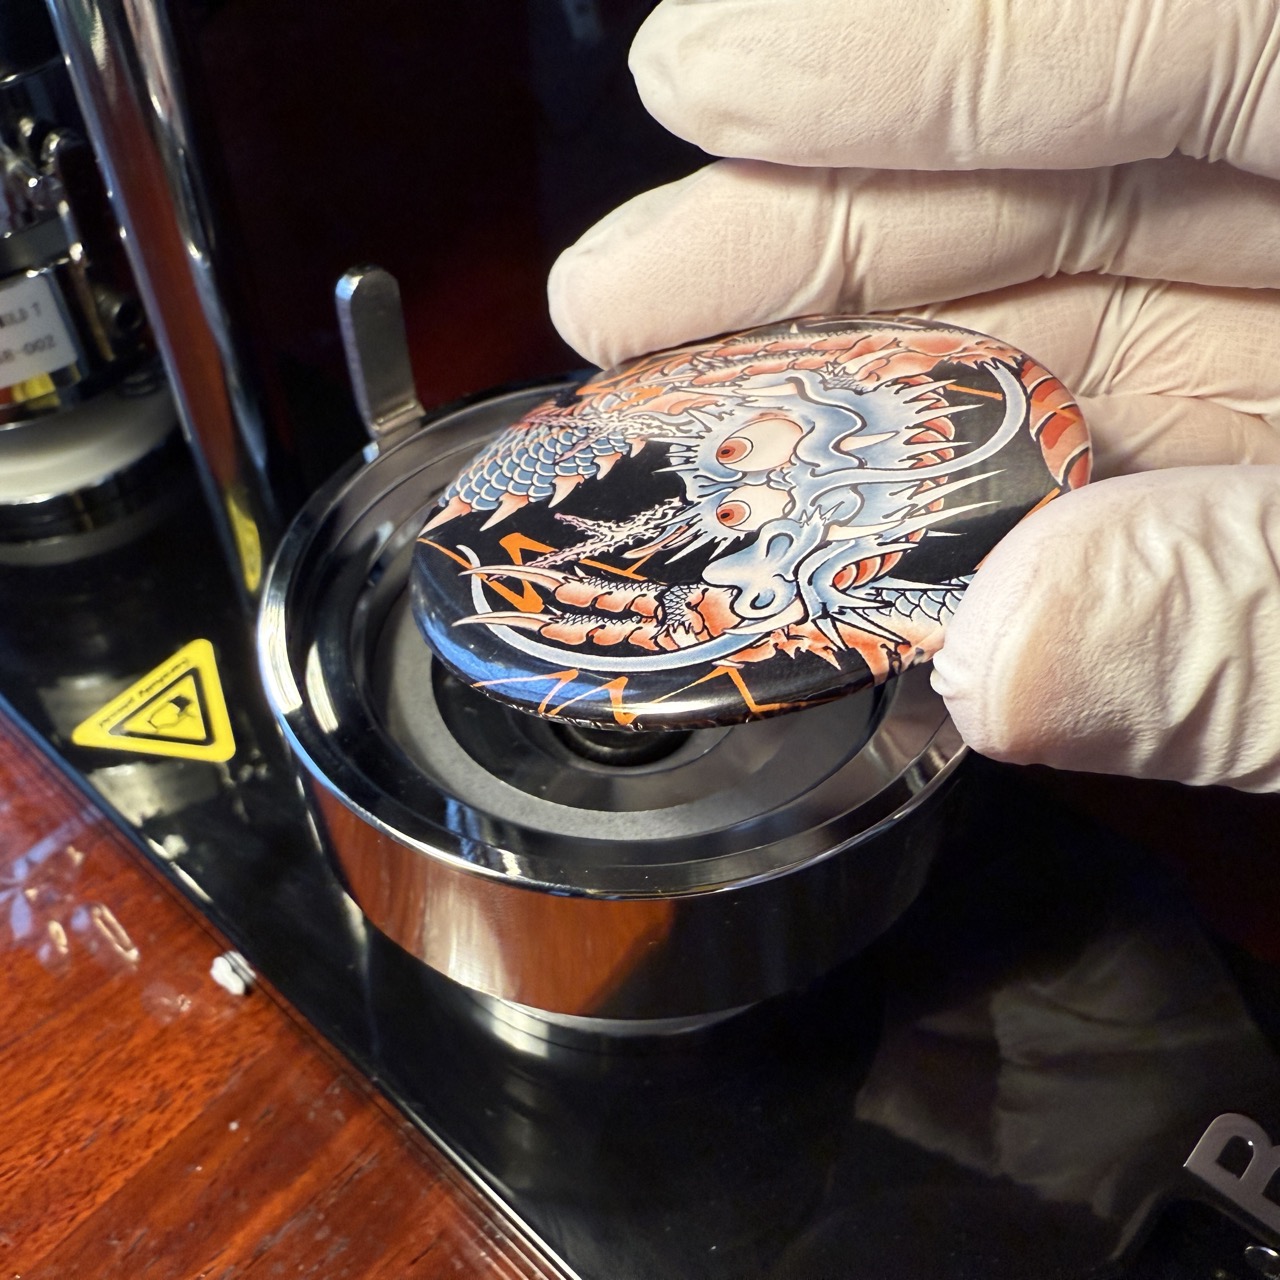
The badge is born!
My thoughts: It’s incredibly easy and beautifully done.
For those who’d like to enjoy this experience sooner rather than later, here’s my advice: make sure to leave plenty of extra space in your design.
This was my only takeaway.
Of course, I downloaded a template and created a circular dragon illustration, but the fisheye effect made me realize my first design could’ve been positioned closer to the center.
From there, I carefully observed the actual results and adjusted the design in Photoshop, refining it by fractions of a millimeter. The latest print with a black border is the result of this effort.
By the third attempt, I managed to create something I can call perfect!(`・ω・´)y
『Double Peace Dragon』Japanese-style badge
Size: 58mm diameter
Pin type: 500 yen (tax included)
Magnet type: 555 yen (tax included)
Before proceeding to the purchase page, please visit the website ‘Tenso.com’. Select your language from the menu icon and read the instructions.
tenso.com
tenso.com
I’ve also filmed a video of the actual badge, so be sure to check it out!
In these times, I want to ensure that the reins of my craftsmanship remain firmly in my own hands.


2 Reactions